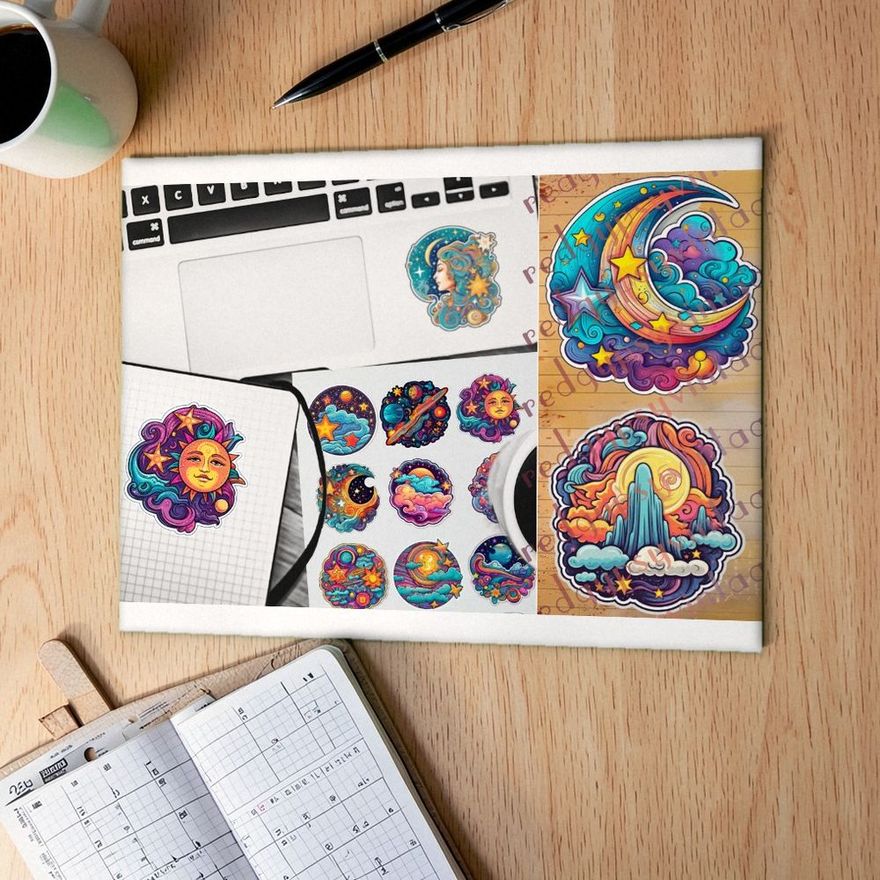
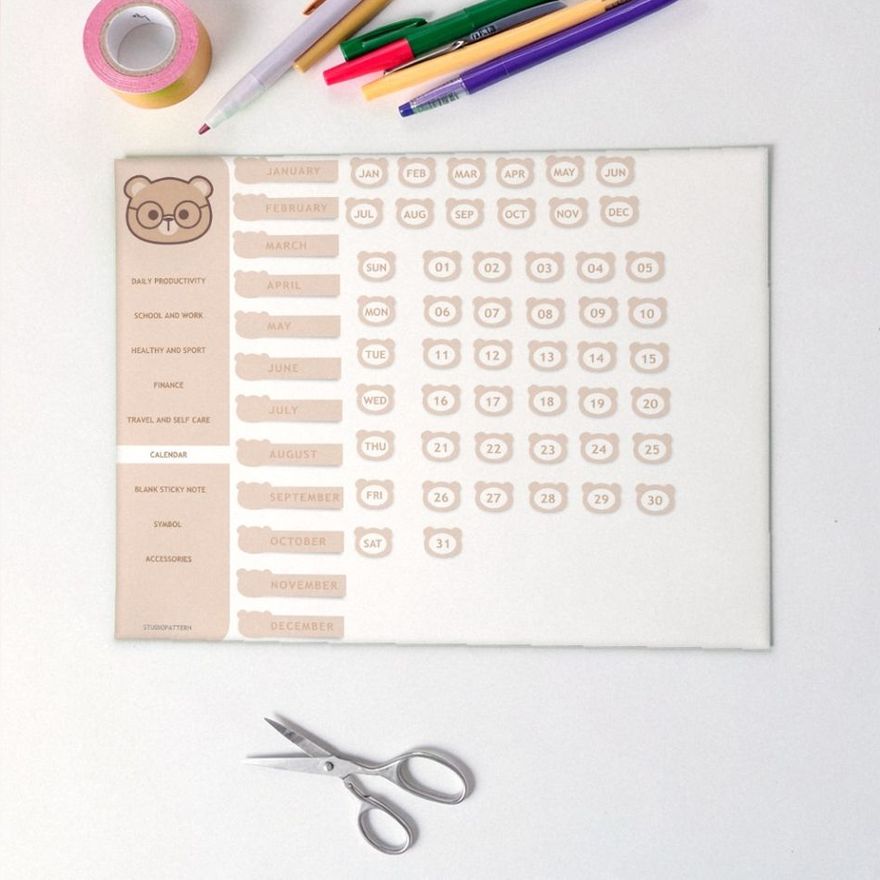
A digital sticker is a small image file, almost always a PNG with a transparent background, that you place on a page in a note-taking app. In Goodnotes you add it with the Images tool, then move, resize and rotate it. To reuse a sticker without importing it again, save it in the Elements tool, which keeps stickers in named collections. Everything below works from that idea.
Free Coquette Sheets to Import
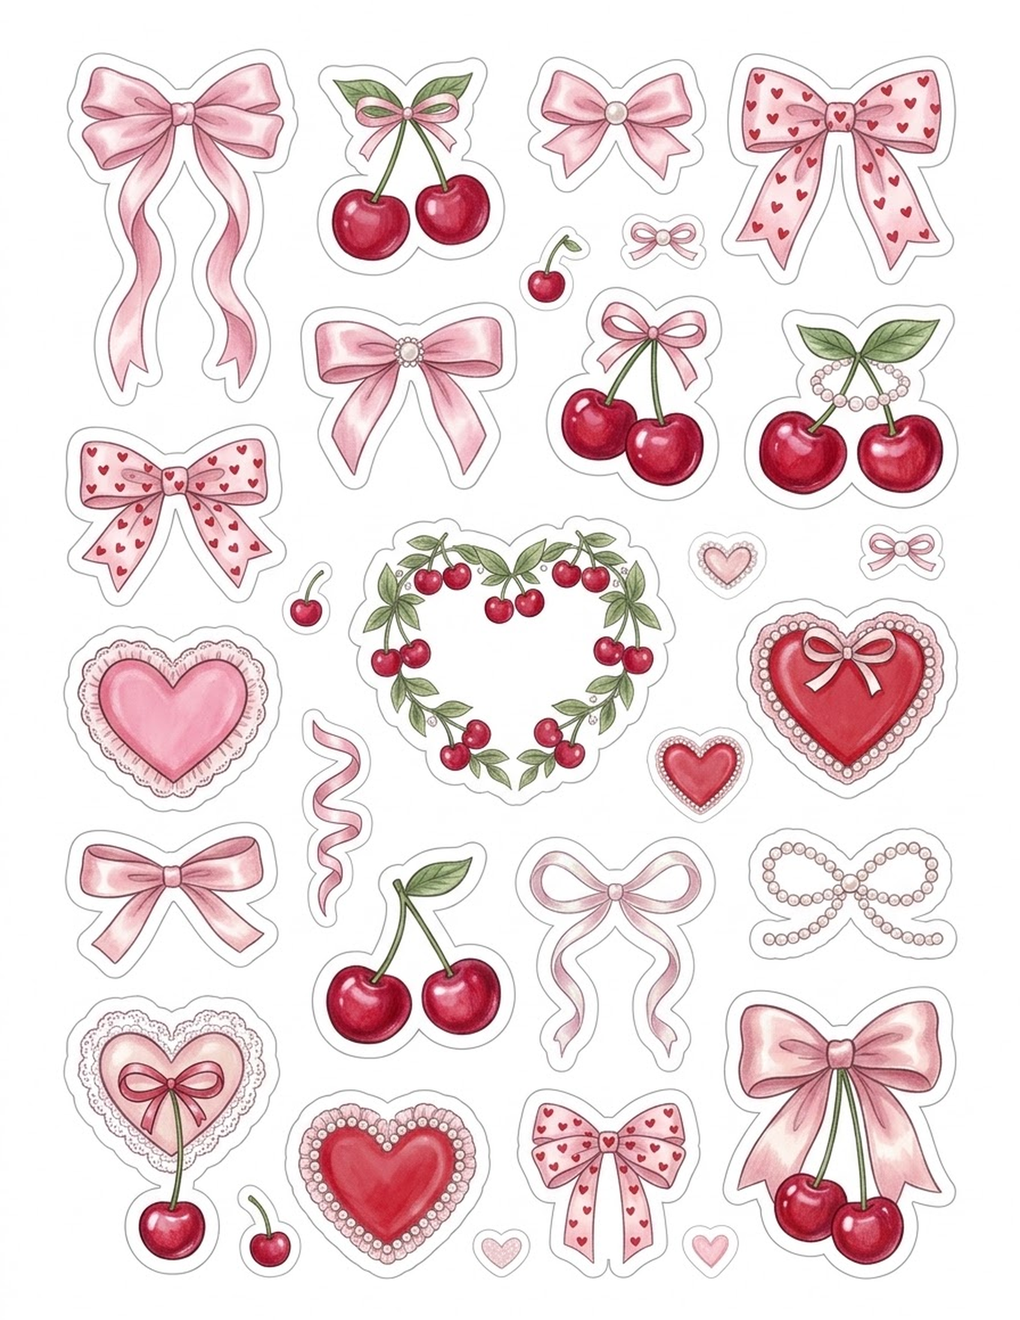
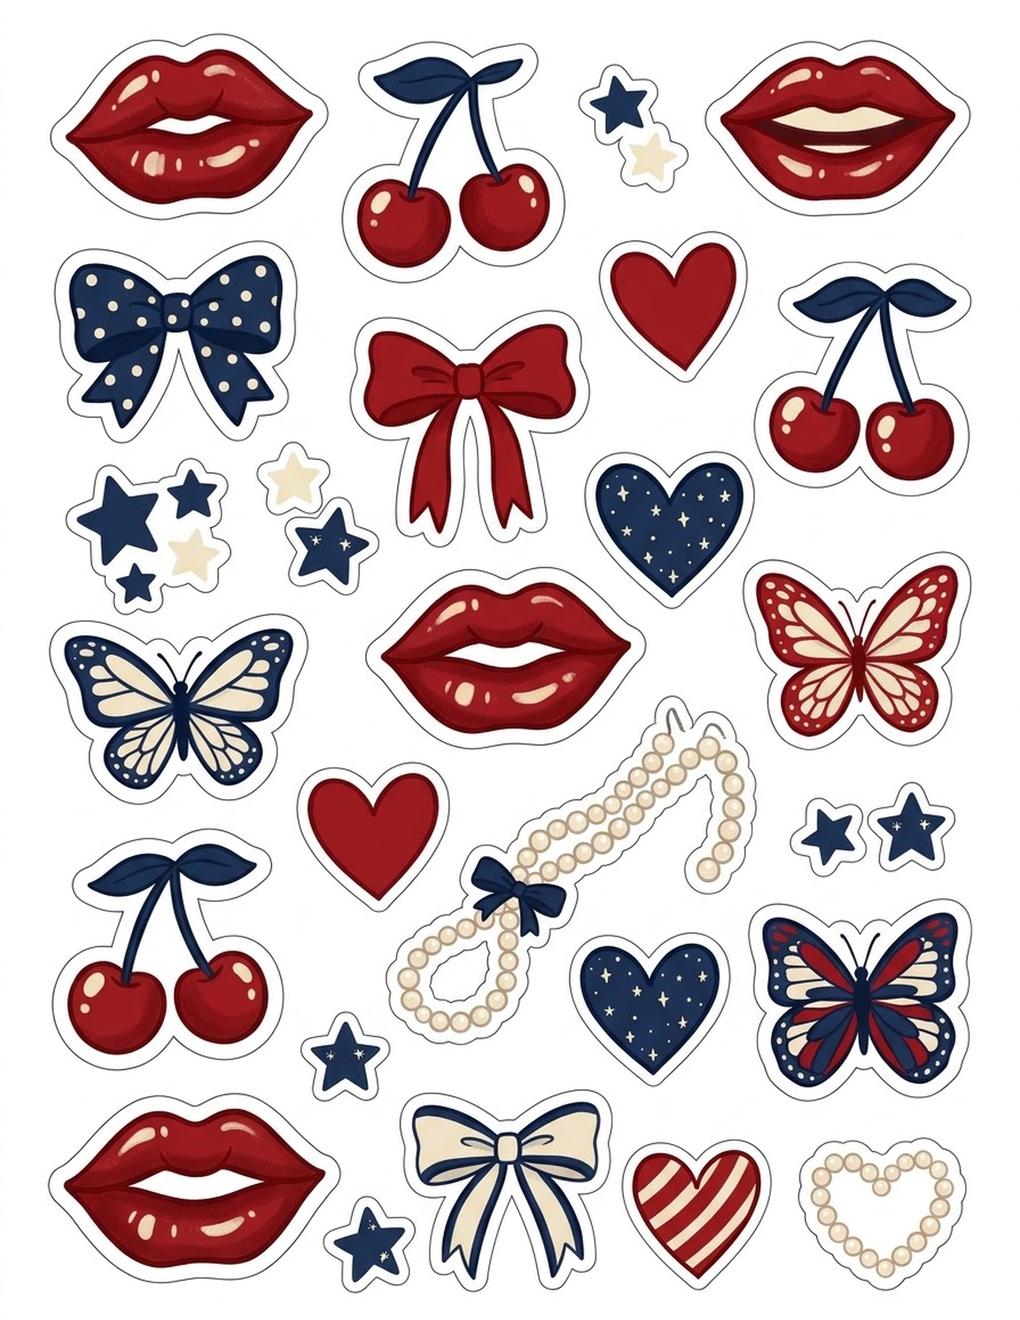
To practice the steps below, here are six coquette sticker sheets drawn for this site: cherries and bows, pink ribbons, tulips and bouquets, cakes and strawberries, ballet and pearls and lips and stars. Use the PNG for a planner app or print the PDF on sticker paper.
Download all 6 pages in one PDFOne PDF of 6 pages. Four coquette sticker sheets to print or import.


The steps follow Goodnotes' current support pages. The app is updated often and differs a little between iPad, Android, Windows and the web, so if a label has moved, look for the same function nearby.
What a Digital Sticker File Is
The format matters more than anything else. Goodnotes imports two image formats, PNG and JPG. A PNG can store transparency, so only the artwork shows and the page stays visible around it. A JPG cannot, and a JPG sticker arrives with a white rectangle behind it. If a pack offers both, use the PNGs.
Sticker packs usually download as a ZIP archive. On an iPad, tapping the ZIP in the Files app creates a folder with the unpacked files in the same location. Do this before you open Goodnotes, so you are importing images and not an archive.
Packs come in two shapes:
- Pre-cropped stickers: one PNG file per sticker.
- Sticker sheets: one image or page that holds many stickers together.
The difference changes how you import them, and it has its own section below.
Three Ways to Put a Sticker on the Page
- The Images tool. Select Images in the toolbar and pick a picture from Photos, or choose Insert from... to browse your files. Then move the image where you want it.
- Drag and drop. On an iPad, open Files or Photos side by side with Goodnotes. Press and hold a PNG until it lifts, then drag it onto the page. You can gather several files under one finger and drop them together. Goodnotes lists dragging between windows as not available on Android, Windows and the web.
- Copy and paste. Long-press the image in another app and choose Copy, then long-press the Goodnotes page and choose Paste.
Drag and drop from Files is the fastest for a new pack. If a sticker ever arrives with a white box around it, the transparency was lost along the way. Import the original PNG from Files instead of a copy that was saved or sent through another app.
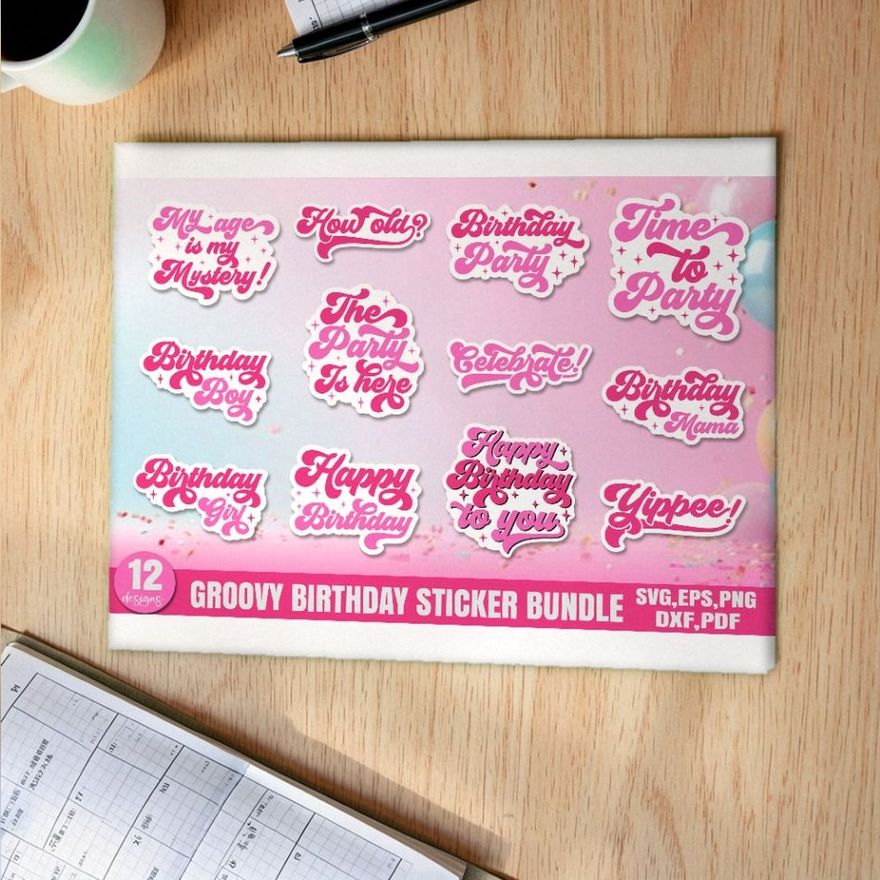
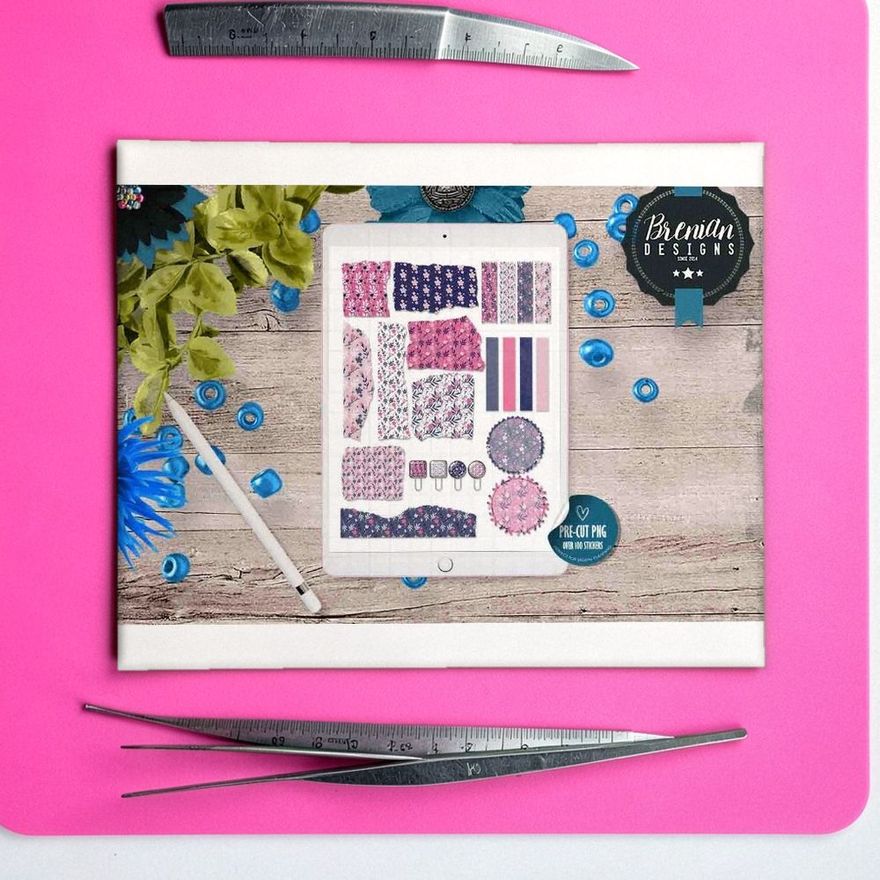
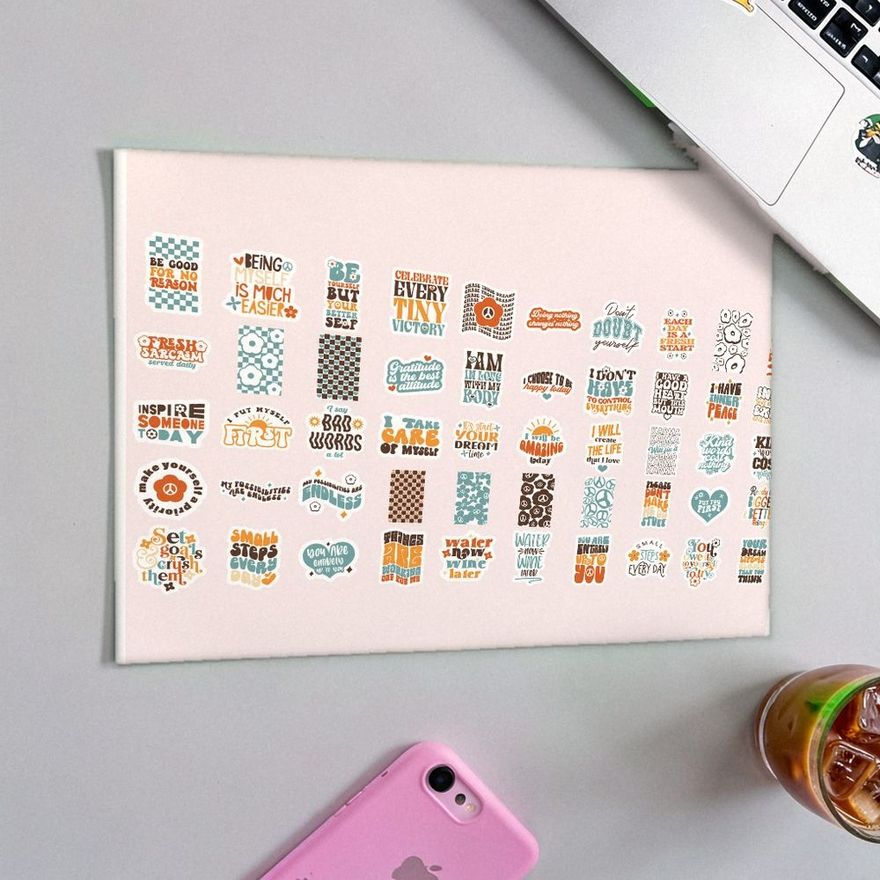
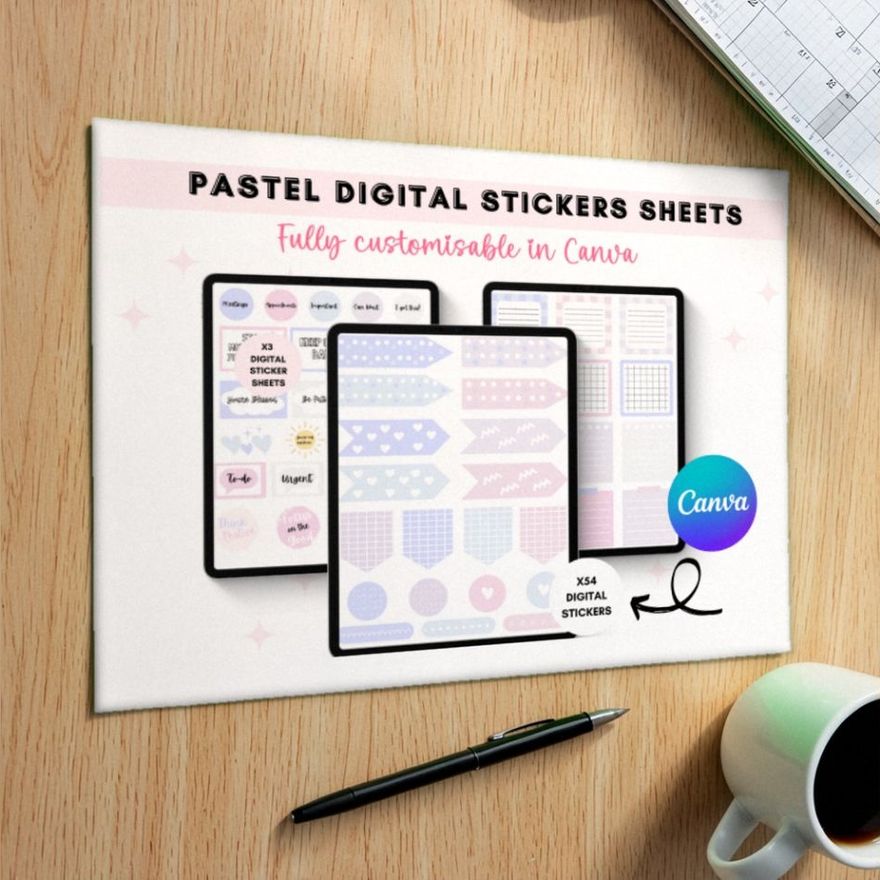
Packs listed as digital stickers are the ones made for this kind of use:

Planning Widget Digital Stickers
See the listing ↗
Pastel Canva Digital Stickers
See the listing ↗
Books Digital Stickers Colorful Clipart
See the listing ↗From the collection Aesthetic Sticker Packs. New Creative Fabrica members get 10 free downloads, and any of these can be one of them.
Save Stickers in Elements Collections
Importing a file every time gets old quickly. Elements is the Goodnotes sticker library: it holds any collections you create, plus sets bought in the app's Marketplace, which install into it automatically.
There are two routes into it.
- From your files. Select Elements in the toolbar, scroll to the end of the row of collections and tap the plus icon. Type a name, choose Add Photos or Import from..., pick the images and select Create. Adding a whole folder of pre-cropped PNGs at once is the quickest way to load a pack.
- From the page. On an iPad or iPhone, tap the placed image twice and choose Add Element. On Android, Windows and the web, select it with the Lasso, tap the selection and choose Add Element. Then pick an existing collection or New Collection.
After that, placing a sticker takes a few taps: open Elements, stay on the Stickers tab (the other tab holds GIFs), choose a collection from the row at the bottom, and tap the sticker or drag it onto the page.
Collections are easy to maintain. Edit, next to a collection's name, lets you rename it, add more images, delete single stickers and drag them into a new order. The same menu can share the collection as a file that another Goodnotes user imports.
Keep collections small and named by what you reach for. "Headers", "Checkboxes", "Coffee" and "October" are easier to use than one collection of four hundred images that you have to scroll.
Build a collection as you go. Each time you import a sticker you expect to use again, add it to Elements before you move on.
Pre-Cropped Stickers vs Sticker Sheets
Pre-cropped files are the easy case. Each PNG is one sticker, so it drops straight into a collection.
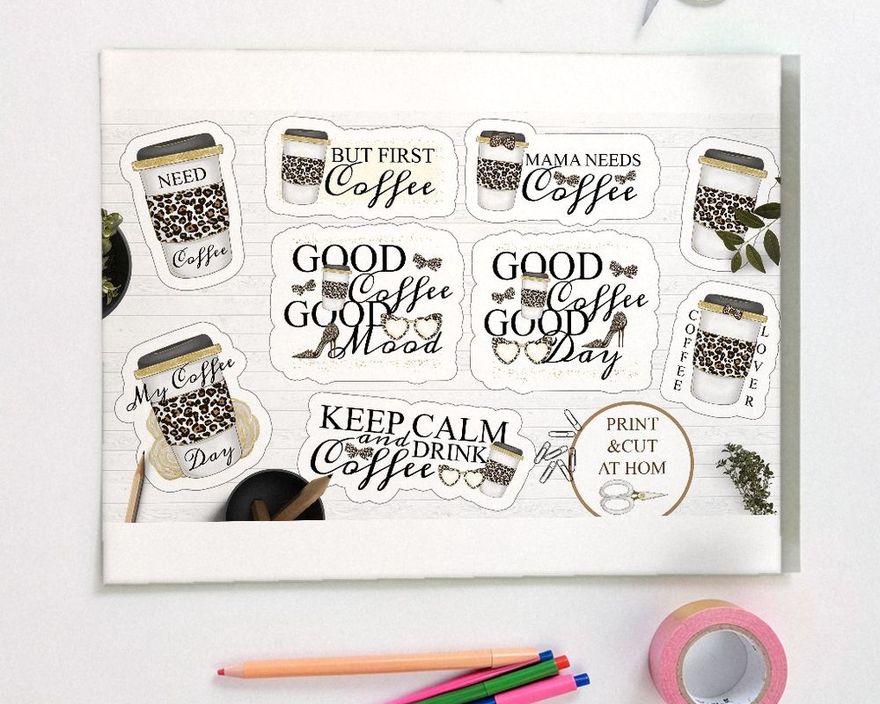
A sticker sheet saved as a single image is different. Goodnotes treats it as one picture, so selecting it picks up the whole sheet, not one sticker from it. You have two options:
- Crop a copy. Select the sheet with the Images tool, tap it again and choose Crop. Goodnotes offers two crop styles. Rectangle gives you handles to drag, and Freehand lets you draw the outline you want to keep, which suits round or irregular stickers. Add the result to Elements, then repeat with a fresh copy for the next one. It works, but it is slow for a sheet of forty.
- Use a sticker book file. Some sellers include a document in Goodnotes format (.goodnotes), which the app imports on every platform. In it every sticker is already a separate object, so you can select one, copy it into your planner, or add it to Elements.
If you are buying for digital use, read the listing for the words "individual PNG" or "pre-cropped". A printable sheet delivered only as a PDF is meant for paper. That is no loss if you own a printer, and how to make stickers at home covers that route.
Resize, Rotate and Layer
Tap a placed sticker with the Images tool, or circle it with the Lasso, to select it. Drag a resize handle to scale it, and use the rotation control to tilt it. Images keep their proportions by default, so a sticker does not stretch out of shape.
A PNG is made of pixels. You can shrink it as far as you like, but enlarging it well past its original size makes the edges soft. Files made at print resolution, 300 dpi, have plenty of room for a planner page; a tiny icon stretched across a full page does not.
Stickers stack in the order you add them. If one ends up hidden, select it, open the three-dot menu and choose Bring to Front; Send to Back does the opposite and is the quick way to push a background box or a washi-style strip under everything else.
A few habits keep pages tidy:
- Size functional stickers to the planner's own boxes and lines, so they look printed in.
- Duplicate a sticker instead of resizing a new copy each time, and repeated items stay identical.
- Use fewer, smaller images per page. Very image-heavy notebooks grow large and can be slower to open and sync.
Ideas for a Digital Planner Page
Digital stickers never run out, which changes how you use them. A checkbox strip or a weekday header can go on every page of the year.
Start with function: headers, date labels, checkboxes and tracker grids. Then add one or two decorative pieces per page. The same rules of spacing and color apply as on paper, and the guide to journal and planner sticker ideas goes through them.
Small themed sets work well as accents next to functional pieces:

Coffee Stickers, Digital Stickers
See the listing ↗
Functional to Do Planner Coffee Stickers
See the listing ↗
Coffee Stickers - 29 PNG Items
See the listing ↗From the collection Coffee & Book Stickers. New Creative Fabrica members get 10 free downloads, and any of these can be one of them.
Other Apps in Brief
The same PNG files work almost everywhere, because nearly every note-taking app accepts images. What differs is whether the app gives you a reusable library.
- Noteshelf has Saved Clips. Select anything on the page with the lasso, images included, choose Save Clip, and file it in a category.
- Notability has a My Stickers shelf, which its help page describes for grouped pen and pencil content. Image files go in as ordinary media.
- OneNote on Windows comes with its own sticker sets, but Microsoft's support forum confirms there is no way to add custom ones. Insert your PNGs as pictures.
- Apple Notes, Freeform, Samsung Notes and CollaNote accept pasted or inserted images. Whether you get a sticker library, and what it is called, differs by app and version.
If your app has no library for image files, make your own. Keep a "sticker book" notebook with stickers laid out by theme, and copy from it into your planner.
On Android, Windows and the web, Goodnotes has Elements too, and both .goodnotes files and PNG images import there. The gap is drag and drop between windows, so load stickers through the Images tool instead.
Set Up Your First Collection
Pick one pack, unzip it in Files, and load ten to twenty stickers you will really use into a new Elements collection. Decorate one weekly page with them. If the pack was large, sort the remaining files into folders by theme before you import more; the same habits that keep paper stickers findable apply to files, as how to store and organize stickers explains. For more packs in this style, see the aesthetic sticker packs.
Sticker Sets From This Article
Aesthetic Sticker Packs13 hand-picked · open the collection → Coffee & Book Stickers11 hand-picked · open the collection →